We may earn money or products from the companies mentioned in this post.
I love July/August in the Pacific Northwest for so many reasons, but one that is at the top of the list is because of all the blackberries. We are so fortunate to have blackberries growing wild. I try and pick them a few times a week to get a stock pile going. I freeze them to use throughout the year, but the majority of what I pick I use to make jam. I will usually make 2-3 batches, because I give some away to family and friends. I usually end up with enough jam to last us an entire year, and because the berries were free it makes it taste that much sweeter.
Making jam is super easy. If you haven’t canned before here are some of the basic supplies you will need:
- Canning Jars with lids & bands (pint size)
- 5-Piece Home Canning Kit
 (you can make do without, but nice to have)
 - Canner with Rack, 21.5-Quart
- Fox Run 3-Piece Stainless-Steel Chinois Set or small mesh strainer
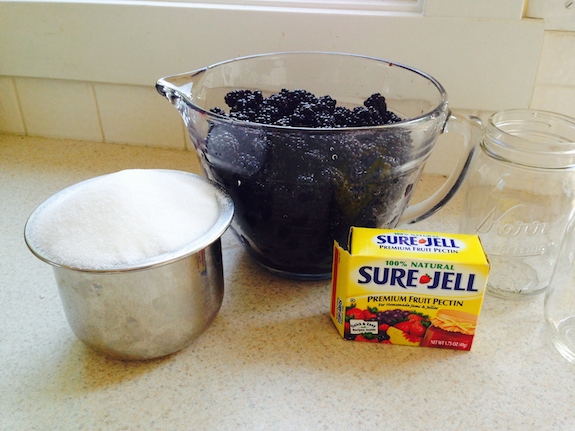
Blackberry Jam Recipe: (makes 6 pint jars)
- Sure jell
- Sugar
- lemon juice
- Blackberries
The amounts of sugar, lemon juice and berries will be listed on the instructions in Sure Jell box. Follow directions and quantities exactly as directed to be sure you are canning the jam safely.
The first step is to get as much juice from the berries by using a food mill or some kind of strainer. My recipe called for 7 cups of mashed blackberries. I don’t like a lot of seeds in my jam so I used about 10 cups of blackberries and mashed them to get the juice. Once I had a little more then 5 cups of juice I added the mashed blackberries to the juice.
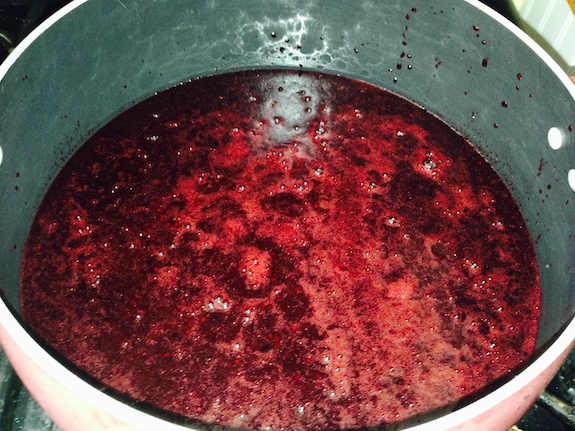
In large sauce pan add the berry/juice mixture and the Sure Jell. Bring to boil.
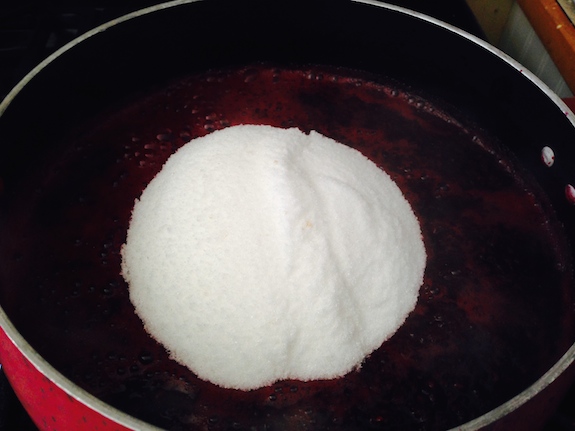
Following box instructions add sugar after boiling time is complete.

Bring to a boil and then removing the foam with a spoon.
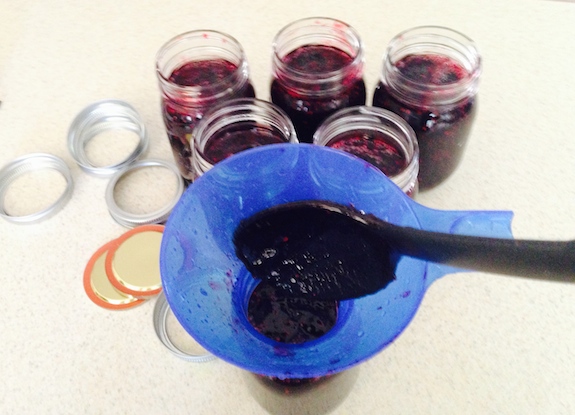
Add jam in to sterile jars with 1/2 inch room at the top.
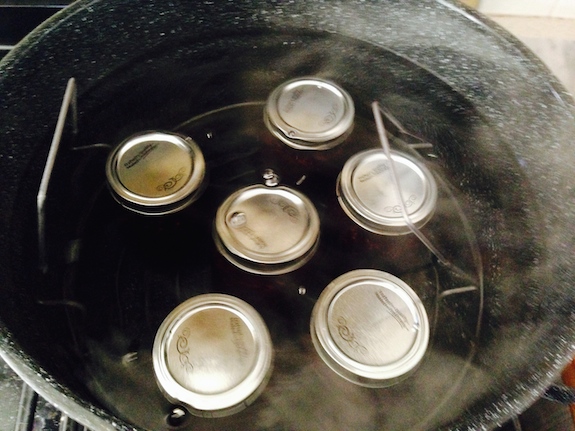
Place filled jars into canning bath for the amount of time as directed. 10-15 minutes

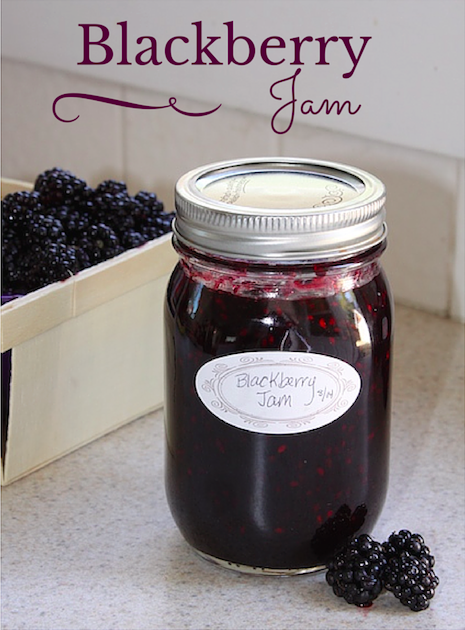
Label your jars and enjoy the sweet goodness all year long.


